A few tips to help you make satellite maps in your Lowrance Chart Plotter using SAS.Planet & Insight Map Creator
There appears to be numerous ways to use SAS Planet but little explanation about the settings used.
In the following tutorial (word used loosely) I will assume you have had a play with maps and have been having various degrees of success . Each time I went back to SASPlanet, I had to find info on it to try & remember what to do as my notes were vague & sketchy .
I am attempting to only create satellite imagery for Lowrance Elite & Live chart plotters
Many maps that I have made, start zooming in visually from seeing the whole continent on screen (like what you see on Google Earth or zoom earth), and you just keep zooming down through the layers till you are as close as the resolution will let you clearly go. There are several ways to go involving multiple layers of capture & stitching and processing that can seem complex, and there's a simple quicker way to achieve maps for areas of interest.
So In this instance I will look at a simple single layer capture stitched map that you can zoom in & out multiple layers on your Lowrance device. (instead of capturing / creating 3-5 multiple layers to view at multiple resolutions)
So basically we take one snapshot at a high resolution in the program SAS Planet (say 18Z zoom level), save it ,
and create the zooming effect from the one quality photo (in the program "Insight Map Creator"), making it do the hard work)
A quick & easier method than the stitching maps page
Programs required
SAS Planet SASPlanet SAS.Planet (several locations to pick from)
Insight Map Creator ( OK it looks like Insight Map Creator has been removed from the WWW)
But here is a link from October 2020
https://gofreemarine.com/developers/insight-map-creator/?_ga=2.159800445.1952519136.1592247998-540826400.1592247998
Or straight here http://s3-eu-west-1.amazonaws.com/navicodigitalassets/AMER/GoFree/mapcreator.zip
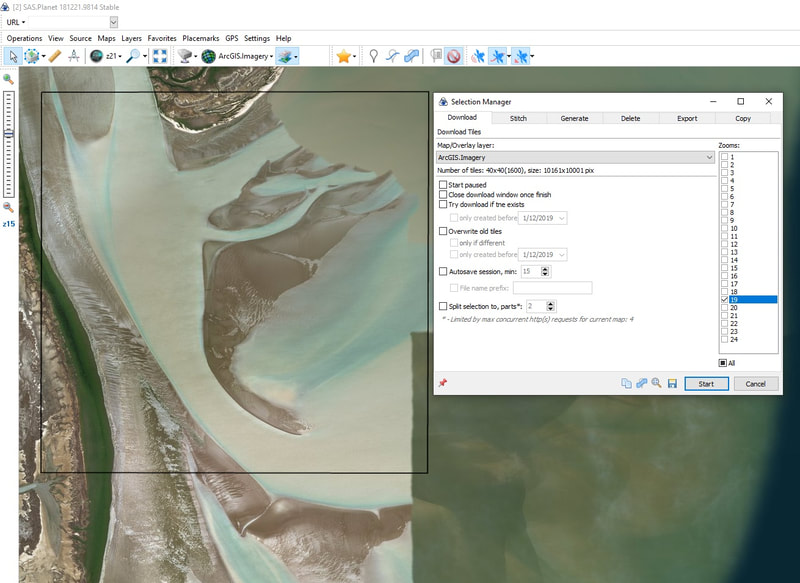
OK I have selected an area in SAS.Planet below where I am attempting to navigate sandbars at a river mouth.
Use selection tool & choose rectangle. This may take many goes to get the biggest image you can for the Z level. The Maximum capture size in SAS.Planet is just over 10000 X 10000 pixels.
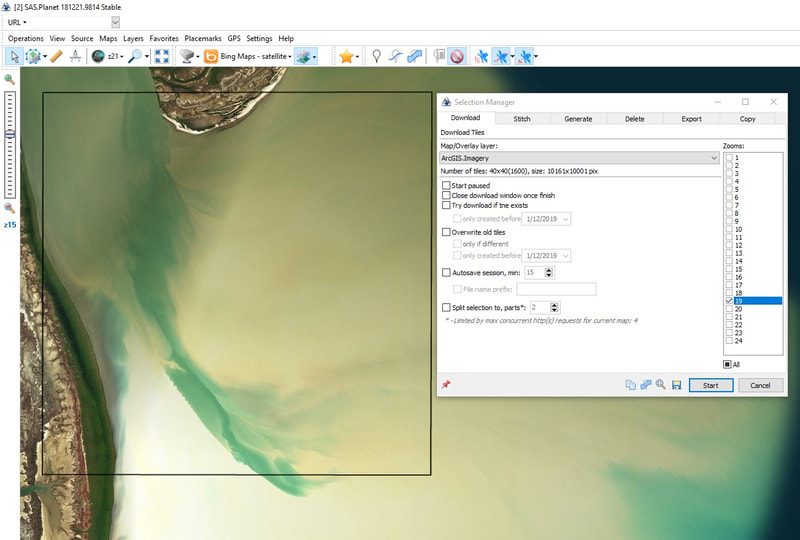
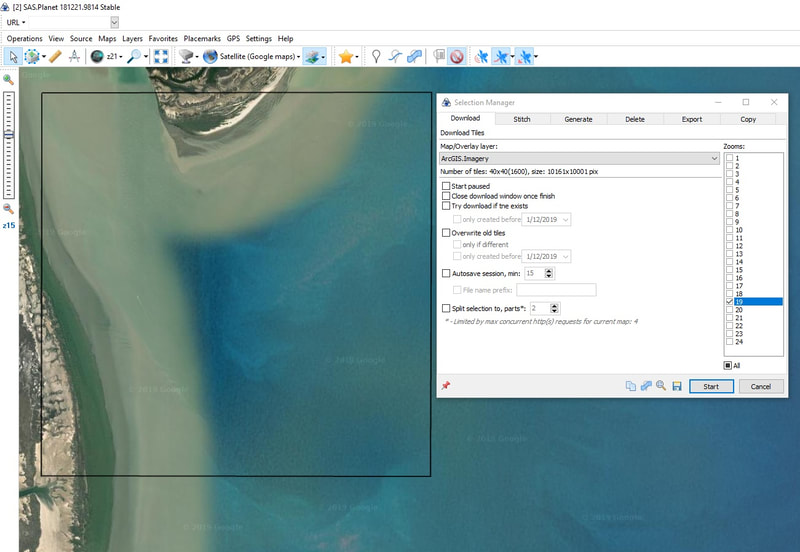
I have zoomed into level Z19 to get the best image possible. I have checked out other maps for the area, in Google & Bing maps & settled on the ESRI (ARCGIS Imagery).
(You may notice I had Z21 at the top of each image, this was to clear the checked boxes as I had previously downloaded the tiles)
Go to Operations > Selection manager & choose rectangle (or go by icons in tab)
10,00ish pixels by 10,000 at 19z zoom .
If you go much bigger it wont play the stitching game as you are over the maximum number of pixels/tiles
After selection the Dialog box will appear & if you check the correct Z Level (Z19 in this case) you will see the pixel size of final image
Have a few attempts at getting the biggest image you can within the parameters. My Z19 was 40 X 39 tiles (1560 tiles) for a total pixel count of 10161 X 9671
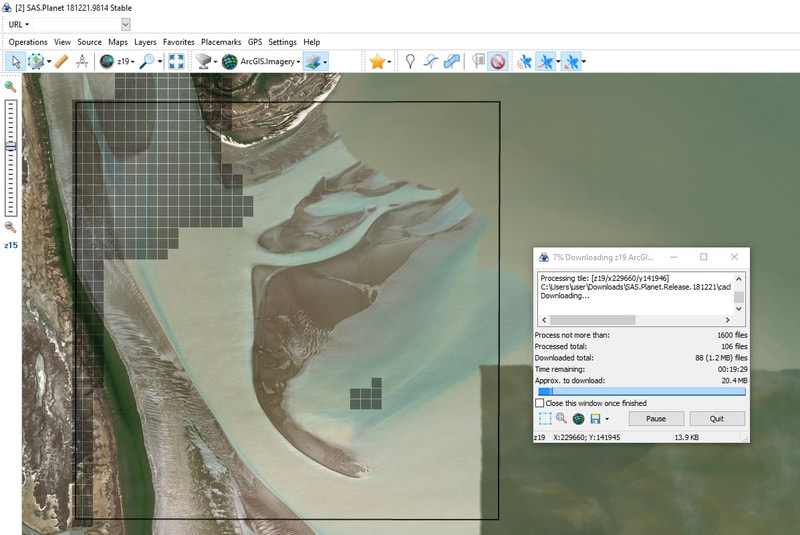
Click on download and watch the paint dry as it downloads a tile at a time. What it is doing is downloading 1600 photos in the selection
Where I had Z21, change that to Z19 to see the tiles that are downloaded
When capturing the tiles I find it quicker to zoom in to "the" level and "paint" over the area collecting the tiles quicker (ie drag the image area around with mouse) the boxes will appear quicker
So now it says all the tiles have downloaded. You can visually see it with the shaded tiles.
Stitch Time
You can click on selection manager & go to last selection, or on the last download dialog box,
click on the blue dotted box (Lower Left hand side)
Now the stitch, ( second tab on selection manager dialog box) but make sure everything is checked correctly. Many times I've had to redo as I forgot .kml tick box or wiped over a previous name due to not modifying.
On this occasion we are creating a single photo from the captured 1560 tiles so we simply want "JPEG" as the output format and a geo-referencing attachment (KML) that references our
soon to be created photo of the area. So name you image to be with a .jpeg like in the above photo.
I choose Mercator WGS84 georeference setting, but some people tell me there isnt much difference, so dont get too hung up on it. (until I his a sandbar)
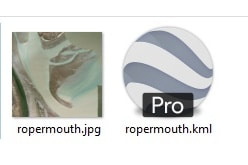
So in your personal output files you now have a .kml & a single image (you can now test .kml by double clicking & it may open up in Google earth & overlay your image). This way you know things are going OK.
So that is it, you are done with SASPlanet
On to the next stage
Insight Map Creator
